3D Printing - Getting started with Ender 3
| Attachment | Size |
|---|---|
| tinkercad-keyboard-shortcuts.pdf | 1.06 MB |
Pick a entry level printer: Creality Ender 3X 3D Printer - includes glass print bed
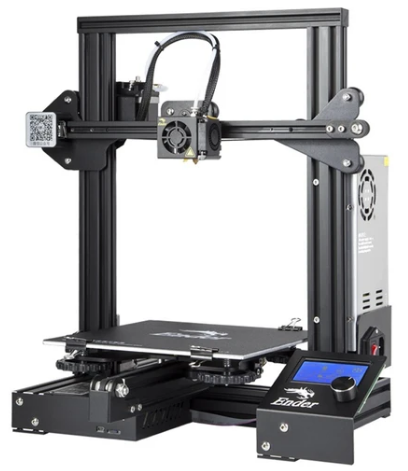
Creality Ender 3 Assembly and Quick Start Guide
Order PLA Black: HATCHBOX PLA 3D Printer Filament, Dimensional Accuracy +/- 0.03 mm, 1 kg Spool, 1.75 mm
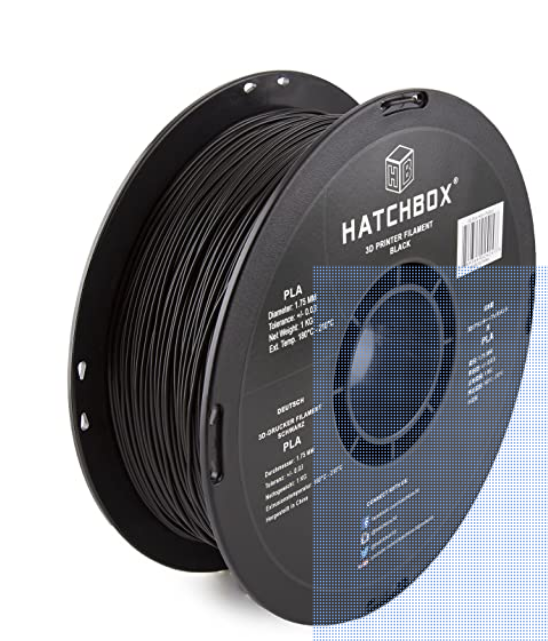
Download from MyMiniFactory:
QuickLevel Printer Bed Calibration Tool
XYZ 20mm 3D printer Calibration Cube 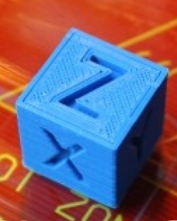
#3DBenchy - The jolly 3D printing torture-test
Try TinkerCAD Drawing web site, Keyboard short cuts
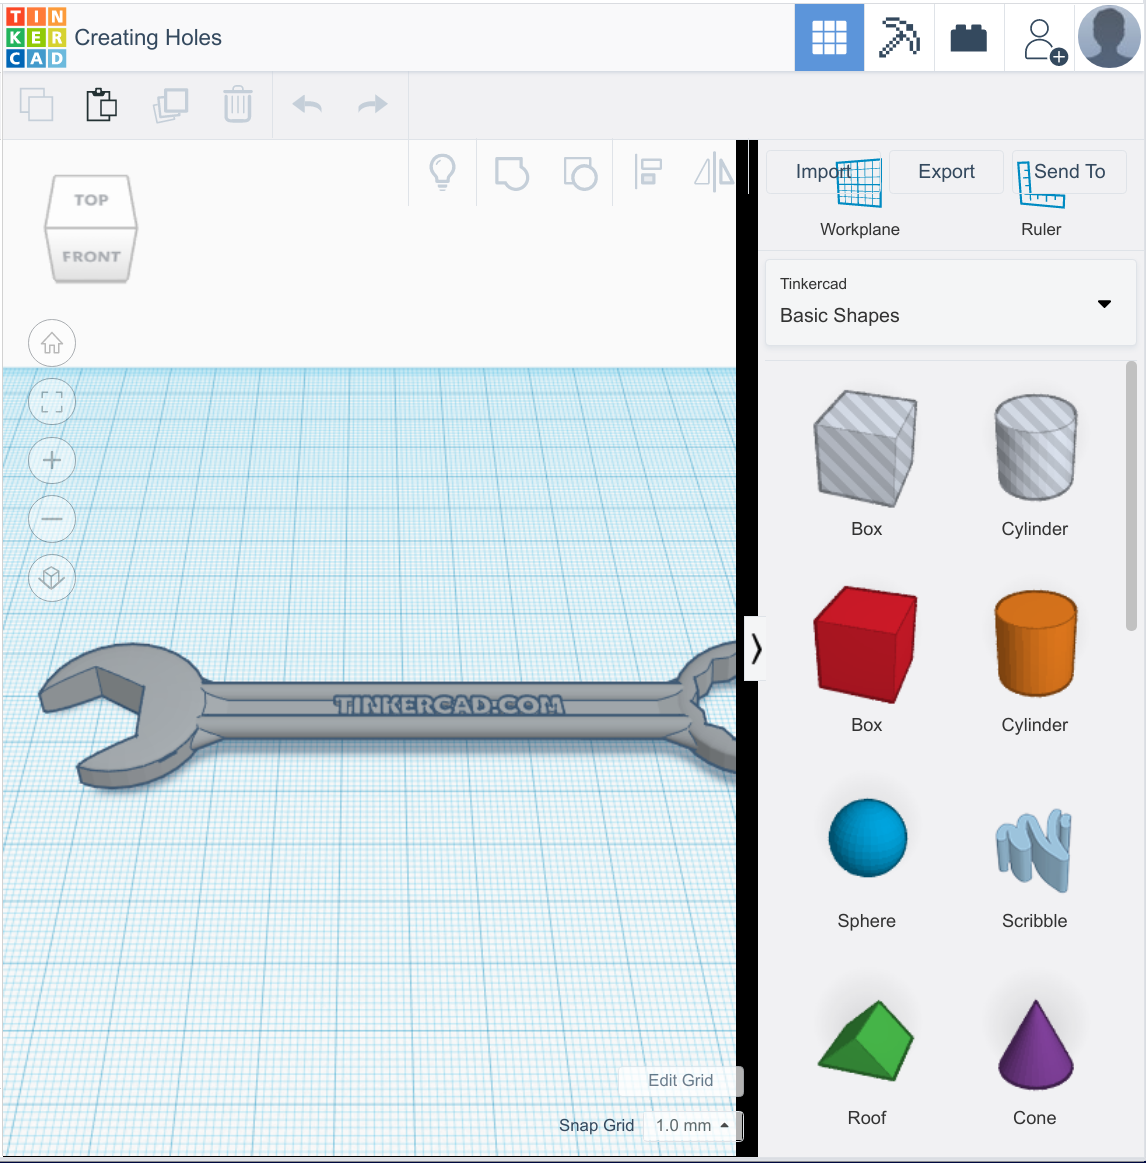
Slicing the .stl file for the printer
- Install Cura Slice software on Ubuntu: Ultimaker_Cura-4.12.1.AppImage Make file executable then run
- Cura Slicer 4.12.1 Features, Tips and Tricks for 3D Printing
- Video explaining every Cura setting, useful for high quality or miniature prints.
- Cura Supports, adding removing
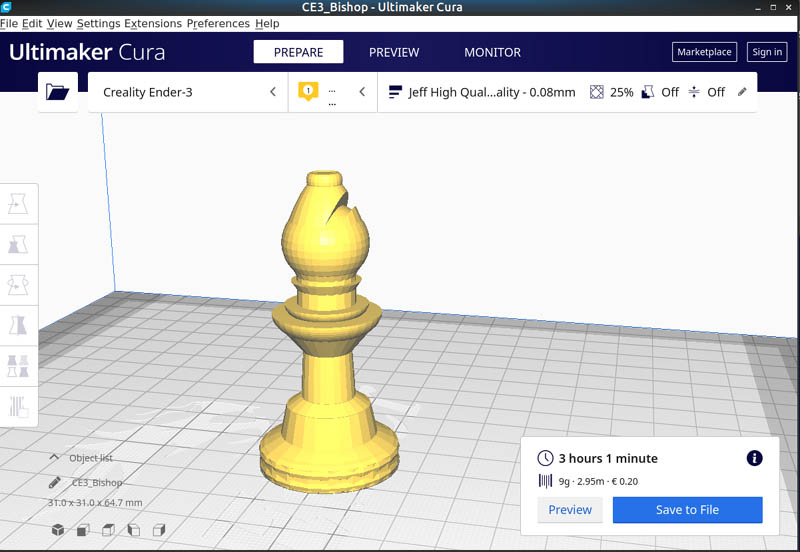
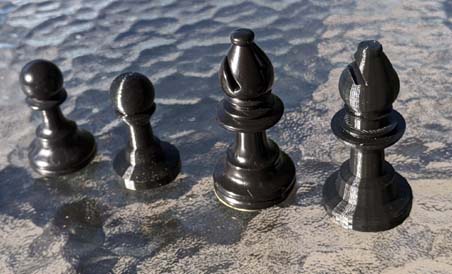
Printing replacement chess pieces
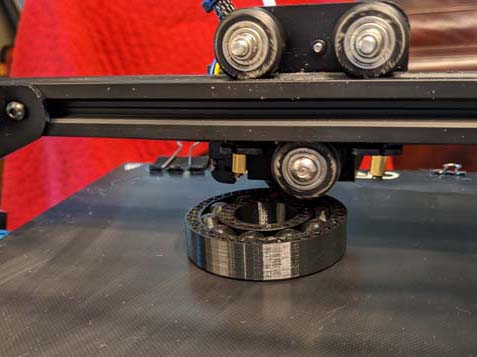
How to get prints to stick to the plate (I was ready to return my printer)
At first I found I could clean the plate with rubbing alcohol and with a new glass plate most things would stick. Sometimes I also needed to add a brim in Cura to the slice if there was not  much surface area on the plate. I asked my friend for advice and he said he usually uses Elmers Purple Glue stick. I found that works well. I can sometimes get a couple of prints on the same glue stick application. Warning: don't try to use a cotton ball with alcohol to clean up the glue stick on the plate. It results in the cotton fibers stuck to the glue. I just use warm to wet a wash rag and clean off all the glue. When dry and the plate is preheated I just put on a fresh coat of glue. Seems to work very well.
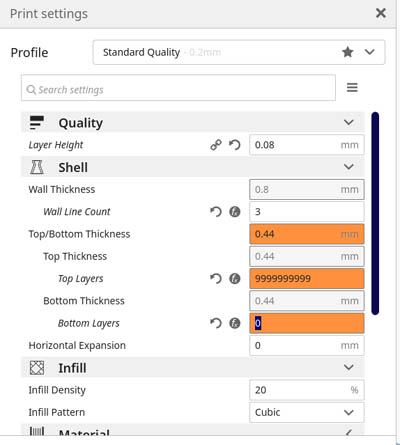
High resolution minis, trick to print every layer as top layer
- 100% infill in Cura
- Very small layer height 0.08
- Go Slow
- Plenty of supports choose zig zag
Note: I have had much better success when I just print in standard quality. Printing in these high resolutions is tricky and often the prints don't adhere to the plate.
Pick a entry level printer: Creality Ender 3X 3D Printer
Is the Ender pro worth it? Ender 3 PRO vs Ender 3 - Detail comparison

Order PLA Black: HATCHBOX PLA 3D Printer Filament, Dimensional Accuracy +/- 0.03 mm, 1 kg Spool, 1.75 mm
Creality Ender 3 Upgrades:
Heat-bed insulation -- https://goo.gl/ubu8MJ C
reality spare nozzle -- https://goo.gl/GV3HeG
Printable Creality Ender 3 Upgrades:
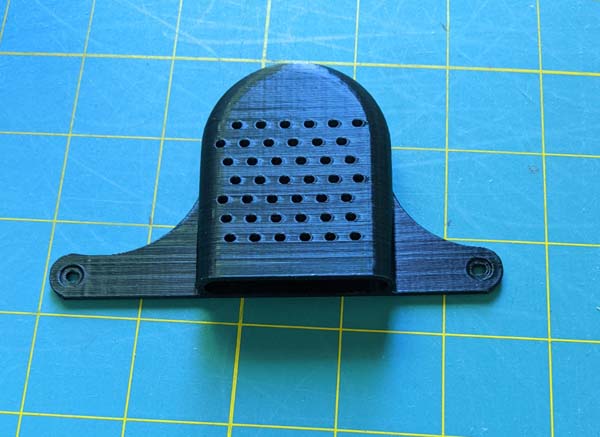 Fan guard -- https://www.thingiverse.com/
thing:293... - LCD cover -- https://www.thingiverse.com/
thing:298... - Feet(damping) -- https://www.thingiverse.com/
thing:291... - Filament guide -- https://www.thingiverse.com/
thing:289...
3D printer calibration
More to come on the site in future: https://teachingtechyt.github.io/ Website source and place to lodge bugs/feature requests: https://github.com/teachingtechYT/tea...
Timestamps:
0:00 Introduction 0:17 Overview 2:07 Structure and warnings 2:46 Frame check 3:35 PID autotune 4:36 Baseline print 7:02 E-steps 8:23 Slicer flow rate 9:51 Stepper motor driver current 11:09 Retraction 13:25 Temperature 14:32 Acceleration and jerk/junction deviation 17:18 Linear advance 18:28 Summary
How to print flexible prints
PLA and ABS are not flexixible, Nylon is a little flexible and TCP is very flexible
I decided on PCTPE Nylon as a good middle ground not too hard to print, some flexibility.
Dealing with moisture in filaments
 I found that a 2 gallon bucket fits 3 spools of filament and I just throw in some Silica Gel Packets with them to absorb any moisture. The Gel packets can be can be recharged in the microwave.
Nylon Filament
- Max Ender 3 Tip can go is 250 C, better printing at 260 C for Nylon
- Bed at 100 C
- Gluestick on Glass for the bed
- Turn off the layer cooling fan
- Retract distance 3 mm
- Slow down print speed
Upgrades for Nylon
- Micro Swiss All Metal Hotend Kit for Creality. - Required (installation video)
- Direct Drive Mod - needed for TPU probably not needed for Nylon
- Box enclosure or print in corner out of any drafts - Helps keep temperature constant
- Insulation on bottom of print bed - raise max temp of print bed a little
Octoprint with Raspberry Pi 4 b
- OctoPi version of Octoprint for Raspberry Pi
- Case for Pi 4b with rails to connect to Ender printer
- Octoprint Plugins
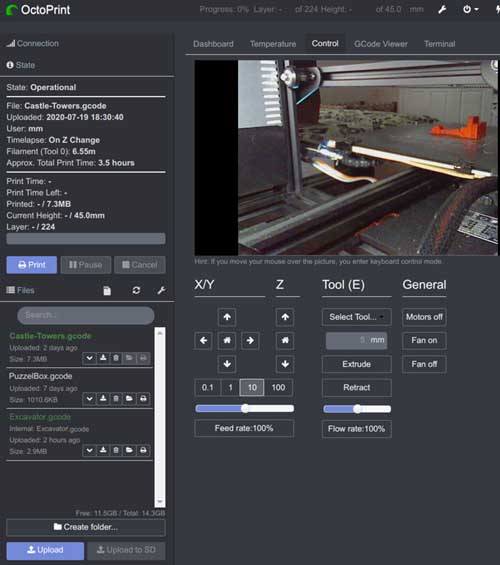
Show Raspberry Pi GPU and ARM CPU temperature
Monitory CPU speed and temp Sample output
$ ./temp.sh
Date   Time    GPU-C  GPU-F      CPU-C  CPU-F    CPU      Core    Vcore
Jul 29 18:46   80.0'C 176.0'F    80.8'C 177.4'F  1500MHz  500MHz  0.8455V
Jul 29 18:46   79.0'C 174.2'F    79.8'C 175.6'F  1500MHz  500MHz  0.8455V
Jul 29 18:47   81.0'C 177.8'F    81.8'C 179.2'F  1500MHz  500MHz  0.8455V
Edit a file temp.sh and add the following:
#!/bin/bash
Counter=20
DisplayHeader="Date   Time    GPU-C  GPU-F      CPU-C  CPU-F    CPU      Core    Vcore"
while true ; do
  let ++Counter
  if [ ${Counter} -eq 21 ]; then
        echo -e "${DisplayHeader}"
        Counter=0
  fi

  Clockspeed=$(vcgencmd measure_clock arm | awk -F"=" '{printf ("%0.0f",$2/1000000); }' )
  Corespeed=$(vcgencmd measure_clock core | awk -F"=" '{printf ("%0.0f",$2/1000000); }' )
  CoreVolt=$(vcgencmd measure_volts | cut -f2 -d= | sed 's/000//')
  gpu=$(/opt/vc/bin/vcgencmd measure_temp | awk -F "[=\']" '{print $2}')
  cpu=$(</sys/class/thermal/thermal_zone0/temp)
  cpu=$(echo "$cpu / 100 * 0.1" | bc)
  cpuf=$(echo "(1.8 * $cpu) + 32" |bc)
  gpuf=$(echo "(1.8 * $gpu) + 32" |bc)
  echo -e "$(date '+%b %d %H:%M')   ${gpu}'C ${gpuf}'F    ${cpu}'C ${cpuf}'F  $(printf '%4s' ${Clockspeed})MHz $(printf '%4s' ${Corespeed})MHz  ${CoreVolt}"
  sleep 10
done
